Today, woodworking Buddies, I will be a leg man. We will make up the leg pairs that will become the bases of these tables.

Previously I made up blanks for the legs that are sized and squared but not cut to length. I get out my leg templates and get ready to get started.

The first step is to set up the leg cutting jig on the miter saw. This will insure that the legs are all the same length. This is just a simple stop-block jig that I clamp to the fence with the right edge just kissing the saw blade. I cut all the legs to length, then check for any tear-out or chipping, and fill any problems with cherry wood putty.

While I wait for the putty to dry I start on the spreaders. I use this template to lay out the arches, the snap-clip hole and lay-out the length.

Then I cut the arches on the band saw. These are rough cuts, I’ll dress them on the router table later. Two arches on the lower spreader, one on the top.

Next I set up the drill press with a Forstner bit and use the lay-out punches to drill two holes side by side, then drill out the waste between the holes. This is something only a Forstner bit is able to do.

OK, the putty is dry, so I sand the legs to smooth the putty and use the leg templates to lay out all the screw holes that will be used in assembling the table bases. I wave to watch the notations on the templates; some holes are drilled from the inside face of the leg, others from the outside face. Most holes are counter-bored for a plug, one is drilled just flush. If I get it wrong, I have to make another leg.

Then it’s off to the drill press where I have a tapered bit with counterbore set up so I can drill pilot holes and counterbores all in one step.
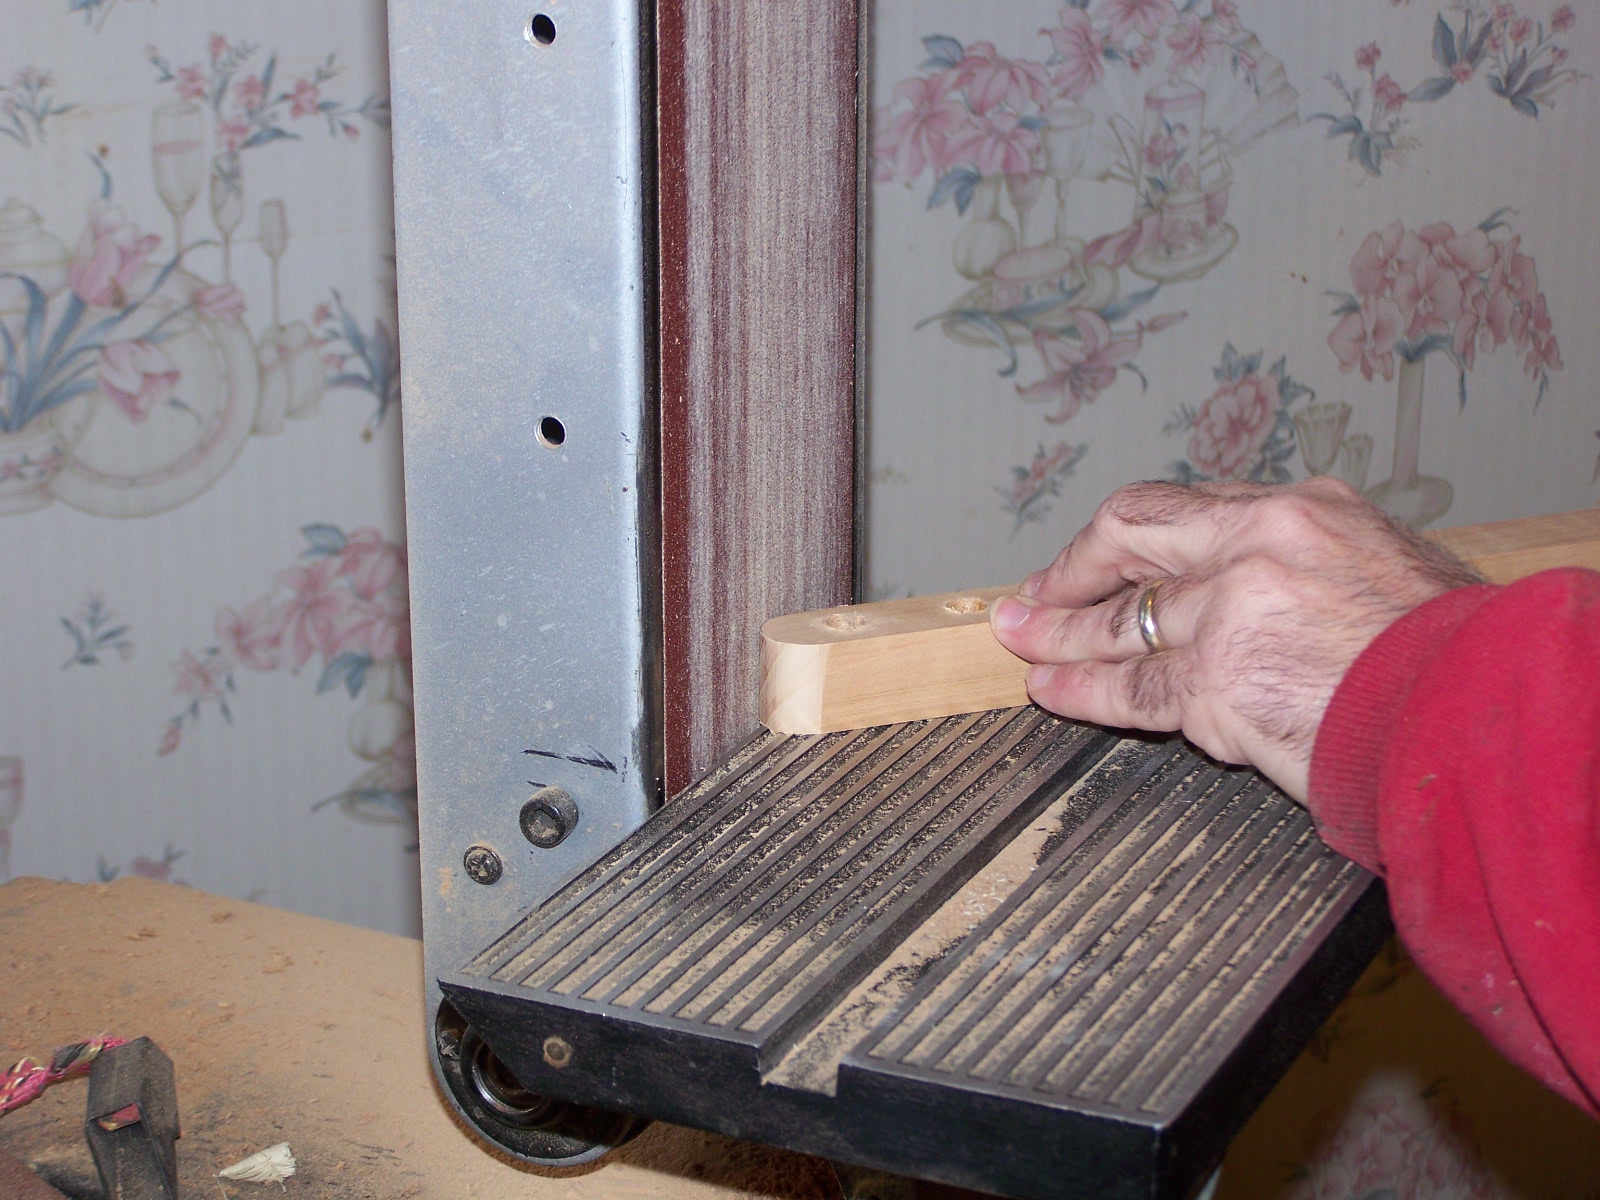
The last step in this phase is to shape the legs on a stationary belt sander. The top of the legs are semi-circular so they can pivot under the table top, the lower ends are rounded over for a more pleasing look.

The rest of the afternoon is spent finish sanding the legs using a combination of power sander and sanding blocks.

As I sand each leg pair I take them in the next room and pre-finish the inside surfaces of each pivot joint and the ends of the legs then assemble the main pivot – the point the two legs fasten together to form a scissors action.
This was a long day. It’s late and I’m going home now. Tomorrow we’ll complete the leg sets and (hopefully) attach them to the tables. See you then!
No comments:
Post a Comment
Appropriate comments are welcome. All comments are reviewed before being posted. Spam messages (anything not a direct discussion of this message) and all profanity will be deleted. Don't waste your time or mine by posting trash here.