
I start off today with mounting the router bit I’ll need for rounding over edges on the shelves. Since it is a ¼” shank bit I need to install an adaptor into the chuck – the chuck is made to accept ½” shank bits – then install the bit and set the height.
I round-over the front upper edge and the upper edges of each hole on each shelf, then set he shelves aside for sanding in a little while.

But first I mount a 5/16” wide dado head on the table saw and tune it in for width and depth of cut on scrap wood. Then I use the special jig to cut the dadoes in both side pieces. This jig insures that not only are the shelves equally spaced, but the dadoes are square to the long edges (no twisted shelves) and that they are perfectly placed vertically to prevent slanted shelves.
The final piece to make is the stiffener apron under the bottom shelf. I assemble the rack and take the width for the apron directly from the rack, then cut that part to length and finished width.

I slip the apron into a template jig and use a band saw to cut away most of the waste of the arch, then use the jig with a piloted straight bit in the router table to take the arch to finished size and shape.
Now comes the *really* fun part: sanding.
All the parts are hand sanded starting with 100 grit paper and working up to 220 grit paper. This takes a while.

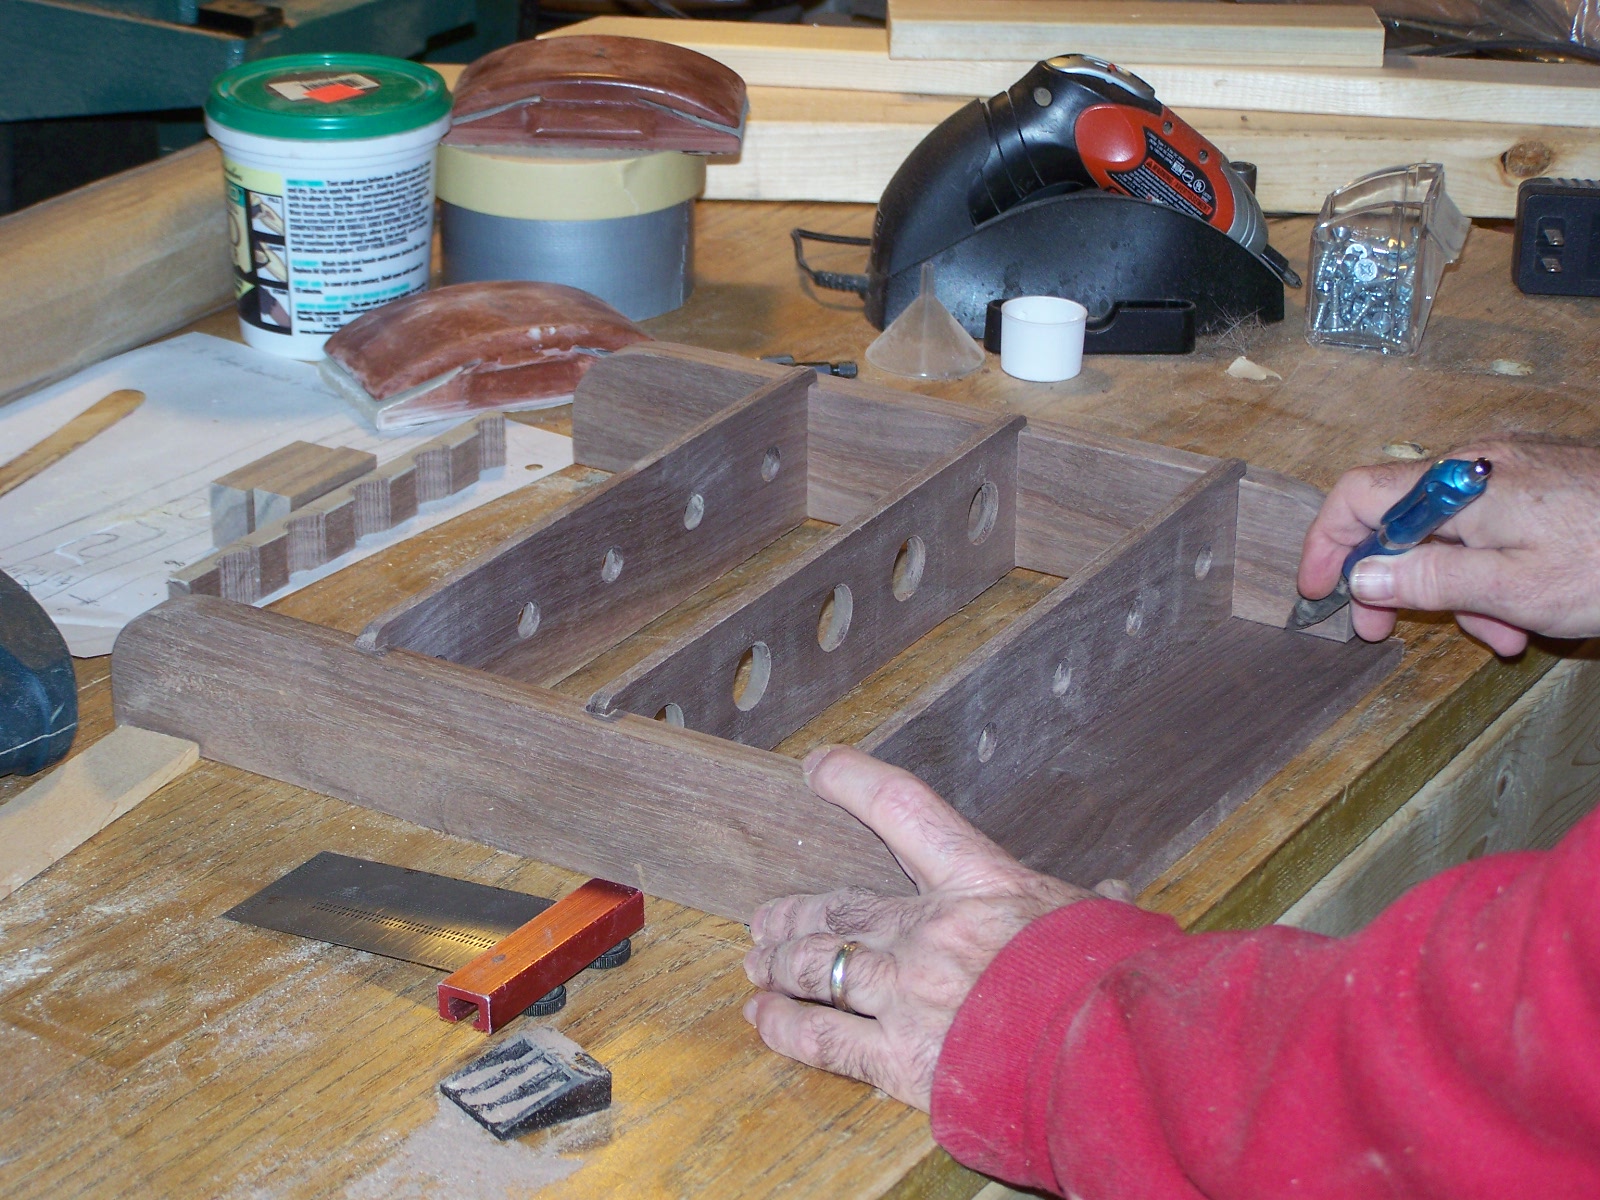
When all the sanding and inspecting is done, I break out the glue pot, a small artist brush and some clamps. Carefully applying glue inside the joints, I assemble the rack, making sure all the parts line up along the back, and apply clamps.
I’ll let this assembly set overnight to be sure the glue sets up well. I’ll spend the rest of the afternoon working on David B’s trailer.
No comments:
Post a Comment
Appropriate comments are welcome. All comments are reviewed before being posted. Spam messages (anything not a direct discussion of this message) and all profanity will be deleted. Don't waste your time or mine by posting trash here.